GUI system
Taichi has a built-in cpu-based GUI system to help users visualize results.
Create a window
The following code show how to create a window of resolution 640x360:
gui = ti.GUI('Window Title', (640, 360))
note
If you are running Taichi on a machine without a GUI environment, consider setting show_gui to False:
gui = ti.GUI('Window Title', (640, 360), show_gui=False)

while gui.running:
    ...
    gui.show(f'{gui.frame:06d}.png')  # save current frame to local file
Display a window
The following code snippet display frame of the current windows:
    for frame in range(10000):
        ...
        gui.show() # display current frame
note
Current FPS will show besides the title of the window. By default, FPS is limited to 60.
We can change this number by setting gui.fps_limit = the_number_we_want.
Paint on a window
Taichi's GUI supports painting simple geometric objects, such as lines, triangles, rectangles, circles, and text.
note
The position parameter of every drawing API expects input of 2-element tuples, whose values are the relative position of the object range from 0.0 to 1.0. (0.0, 0.0) stands for the lower left corner of the window, and (1.0, 1.0) stands for the upper right corner.
Acceptable input for positions are Taichi fields or numpy arrays. Primitive arrays in python are NOT acceptable.
To convert Taichi field to numpy array, use to_numpy() on Taichi fields. By doing this, we can also use data
from Taichi program in other visualization APIs such as matplotlib.
tip
Here we only list the most commonly-used APIs. For a full list of APIs and the detailed API descriptions, please see the API docs.
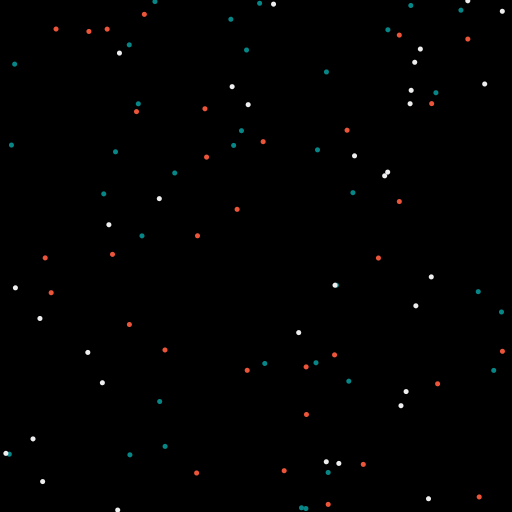
gui.circles(pos, radius=3, palette=[0x068587, 0xED553B, 0xEEEEF0], palette_indices=material)
draws circles with radius of 1.5 and three different colors differed by material, an integer array with the same size as
pos. Each integer in material indicates which color the associated circle use (i.e. array [0, 1, 2] indicates these three
circles are colored separately by the first, second, and third color in palette.

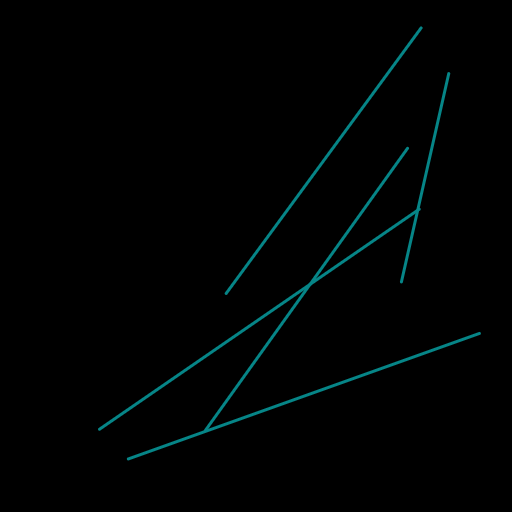
gui.lines(begin=X, end=Y, radius=2, color=0x068587)
draws line segments from X positions to Y positions with width of 2 and color in light blue.

gui.triangles(a=X, b=Y, c=Z, color=0xED553B)
draws triangles with color in red and three points positioned at X, Y, and Z.
RGB & Hex conversion.
A handy tool for converting colors from RGB to hex and vice versa.
rgb = (0.4, 0.8, 1.0)
hex = ti.rgb_to_hex(rgb)  # 0x66ccff

rgb = ti.hex_to_rgb(0x007fff) # (0.0, 0.5, 1.0)

rgb = np.array([[0.4, 0.8, 1.0], [0.0, 0.5, 1.0]])
hex = ti.rgb_to_hex(rgb)  # np.array([0x66ccff, 0x007fff])
The return values can be used in GUI drawing APIs.
Event processing
Every event have a key and type.
Event type is the type of event, for now, there are just three type of event:
ti.GUI.RELEASE  # key up or mouse button up
ti.GUI.PRESS    # key down or mouse button down
ti.GUI.MOTION   # mouse motion or mouse wheel
Event key is the key that you pressed on keyboard or mouse, can be one of:
# for ti.GUI.PRESS and ti.GUI.RELEASE event:
ti.GUI.ESCAPE  # Esc
ti.GUI.SHIFT   # Shift
ti.GUI.LEFT    # Left Arrow
'a'            # we use lowercase for alphabet
'b'
...
ti.GUI.LMB     # Left Mouse Button
ti.GUI.RMB     # Right Mouse Button

# for ti.GUI.MOTION event:
ti.GUI.MOVE    # Mouse Moved
ti.GUI.WHEEL   # Mouse Wheel Scrolling
A event filter is a list combined of key, type and (type, key) tuple, e.g.:
# if ESC pressed or released:
gui.get_event(ti.GUI.ESCAPE)

# if any key is pressed:
gui.get_event(ti.GUI.PRESS)

# if ESC pressed or SPACE released:
gui.get_event((ti.GUI.PRESS, ti.GUI.ESCAPE), (ti.GUI.RELEASE, ti.GUI.SPACE))
gui.running checks the state of the window. ti.GUI.EXIT occurs when
you click on the close (X) button of a window. gui.running will obtain
False when the GUI is being closed.
For example, loop until the close button is clicked:
while gui.running:
    render()
    gui.set_image(pixels)
    gui.show()
You can also close the window by manually setting gui.running toFalse:
while gui.running:
    if gui.get_event(ti.GUI.ESCAPE):
        gui.running = False

    render()
    gui.set_image(pixels)
    gui.show()
gui.get_event(a, ...) tries to pop an event from the queue, and stores it into gui.event.
For example:
if gui.get_event():
    print('Got event, key =', gui.event.key)
For example, loop until ESC is pressed:
gui = ti.GUI('Title', (640, 480))
while not gui.get_event(ti.GUI.ESCAPE):
    gui.set_image(img)
    gui.show()
gui.is_pressed(key, ...) detects the keys you pressed. You must use it
together with gui.get_event. Otherwise, it is not updated. For example:
while True:
    gui.get_event()  # must be called before is_pressed
    if gui.is_pressed('a', ti.GUI.LEFT):
        print('Go left!')
    elif gui.is_pressed('d', ti.GUI.RIGHT):
        print('Go right!')
caution
gui.is_pressed() must be used together with gui.get_event(), or it won't be updated!
For example:
while True:
    gui.get_event() # must be called before is_pressed
    if gui.is_pressed('a', ti.GUI.LEFT):
        print('Go left!')
    elif gui.is_pressed('d', ti.GUI.RIGHT):
        print('Go right!')
gui.get_cursor_pos() retrieves the current cursor position on the window. For example:
mouse_x, mouse_y = gui.get_cursor_pos()
GUI Widgets
Sometimes it's more intuitive to use widgets like slider or button to control the program variables instead of using chaotic keyboard bindings. Taichi GUI provides a set of widgets for that reason:
import taichi as ti

gui = ti.GUI('GUI widgets')

radius = gui.slider('Radius', 1, 50, step=1)
xcoor = gui.label('X-coordinate')
okay = gui.button('OK')

xcoor.value = 0.5
radius.value = 10

while gui.running:
    for e in gui.get_events(gui.PRESS):
        if e.key == gui.ESCAPE:
            gui.running = False
        elif e.key == 'a':
            xcoor.value -= 0.05
        elif e.key == 'd':
            xcoor.value += 0.05
        elif e.key == 's':
            radius.value -= 1
        elif e.key == 'w':
            radius.value += 1
        elif e.key == okay:
            print('OK clicked')

    gui.circle((xcoor.value, 0.5), radius=radius.value)
    gui.show()
Image I/O
ti.imwrite(img, filename) exports an np.ndarray or a Taichi field
(ti.Matrix.field, ti.Vector.field, or ti.field) to a file with a specified filename.
Same as ti.GUI.show(filename), the format of the exported image is determined by the suffix of filename as well. Now ti.imwrite supports exporting images to png, img and jpg and we recommend using png.
Please make sure that the input image has a valid shape. If you want to export a grayscale image, the input shape of field should be (height, weight) or (height, weight, 1). For example:
import taichi as ti

ti.init()

shape = (512, 512)
type = ti.u8
pixels = ti.field(dtype=type, shape=shape)

@ti.kernel
def draw():
    for i, j in pixels:
        pixels[i, j] = ti.random() * 255    # integers between [0, 255] for ti.u8

draw()

ti.imwrite(pixels, f"export_u8.png")
Besides, for RGB or RGBA images, ti.imwrite needs to receive a field which has shape (height, width, 3) and (height, width, 4) individually.
Generally the value of the pixels on each channel of a png image is an integer in [0, 255]. For this reason, ti.imwrite will cast fields which has different data types all into integers between [0, 255]. As a result, ti.imwrite has the following requirements for different data types of input fields:
- For float-type (
ti.f16,ti.f32, etc.) input fields, the value of each pixel should be float between [0.0, 1.0]. Otherwiseti.imwritewill first clip them into [0.0, 1.0]. Then they are multiplied by 256 and cast to integers ranging from [0, 255]. - For int-type (
ti.u8,ti.u16, etc.) input fields, the value of each pixel can be any valid integer in its own bounds. These integers in this field will be scaled to [0, 255] by being divided over the upper bound of its basic type accordingly.
Here is another example:
import taichi as ti

ti.init()

shape = (512, 512)
channels = 3
type = ti.f32
pixels = ti.Matrix.field(channels, dtype=type, shape=shape)

@ti.kernel
def draw():
    for i, j in pixels:
        for k in ti.static(range(channels)):
            pixels[i, j][k] = ti.random()   # floats between [0, 1] for ti.f32

draw()

ti.imwrite(pixels, f"export_f32.png")
Zero-copying frame buffer
When the GUI resolution (window size) is large, it sometimes becomes difficult to achieve 60 FPS even without any kernel invocations between two frames.
This is mainly due to the copy overhead, where Taichi GUI needs to copy the image buffer from one place to another.
This process is necessary for the 2D drawing functions, such as gui.circles, to work. The larger the image shape is,
the larger the overhead.
Fortunately, sometimes your program only needs gui.set_image alone. In such cases, you can enable the fast_gui option
for better performance. This mode allows Taichi GUI to directly write the image data to the frame buffer without additional
copying, resulting in a much better FPS.
gui = ti.GUI(res, title, fast_gui=True)
note
Because of the zero-copying mechanism, the image passed into gui.set_image must already be in the display-compatible
format. That is, this field must either be a ti.Vector(3) (RGB) or a ti.Vector(4) (RGBA). In addition, each channel
must be of type ti.f32, ti.f64 or ti.u8.
note
If possible, consider enabling this option, especially when fullscreen=True.
caution
Despite the performance boost, it has many limitations as trade off:
gui.set_image is the only available paint API in this mode.
gui.set_image will only take Taichi 3D or 4D vector fields (RGB or RGBA) as input.